A cruise puts you in front of extraordinary scenes every single day. Sunrises over open ocean, medieval port towns, glaciers calving into the sea, your ship lit up against a twilight sky. Most cruisers come home with hundreds of photos. Most of those photos are mediocre.
The difference between a snapshot and a photograph you'd actually print is rarely about equipment. It's about timing, positioning, and a handful of techniques that take five minutes to learn and a lifetime to master. Here's how to come home with photos worth keeping.
Ready to book a cruise? Browse 12,000+ live cruise deals on Cruisebound. Filter by destination, length, cabin type, and departure port to see today's pricing before you keep reading.
The Light Makes the Photo
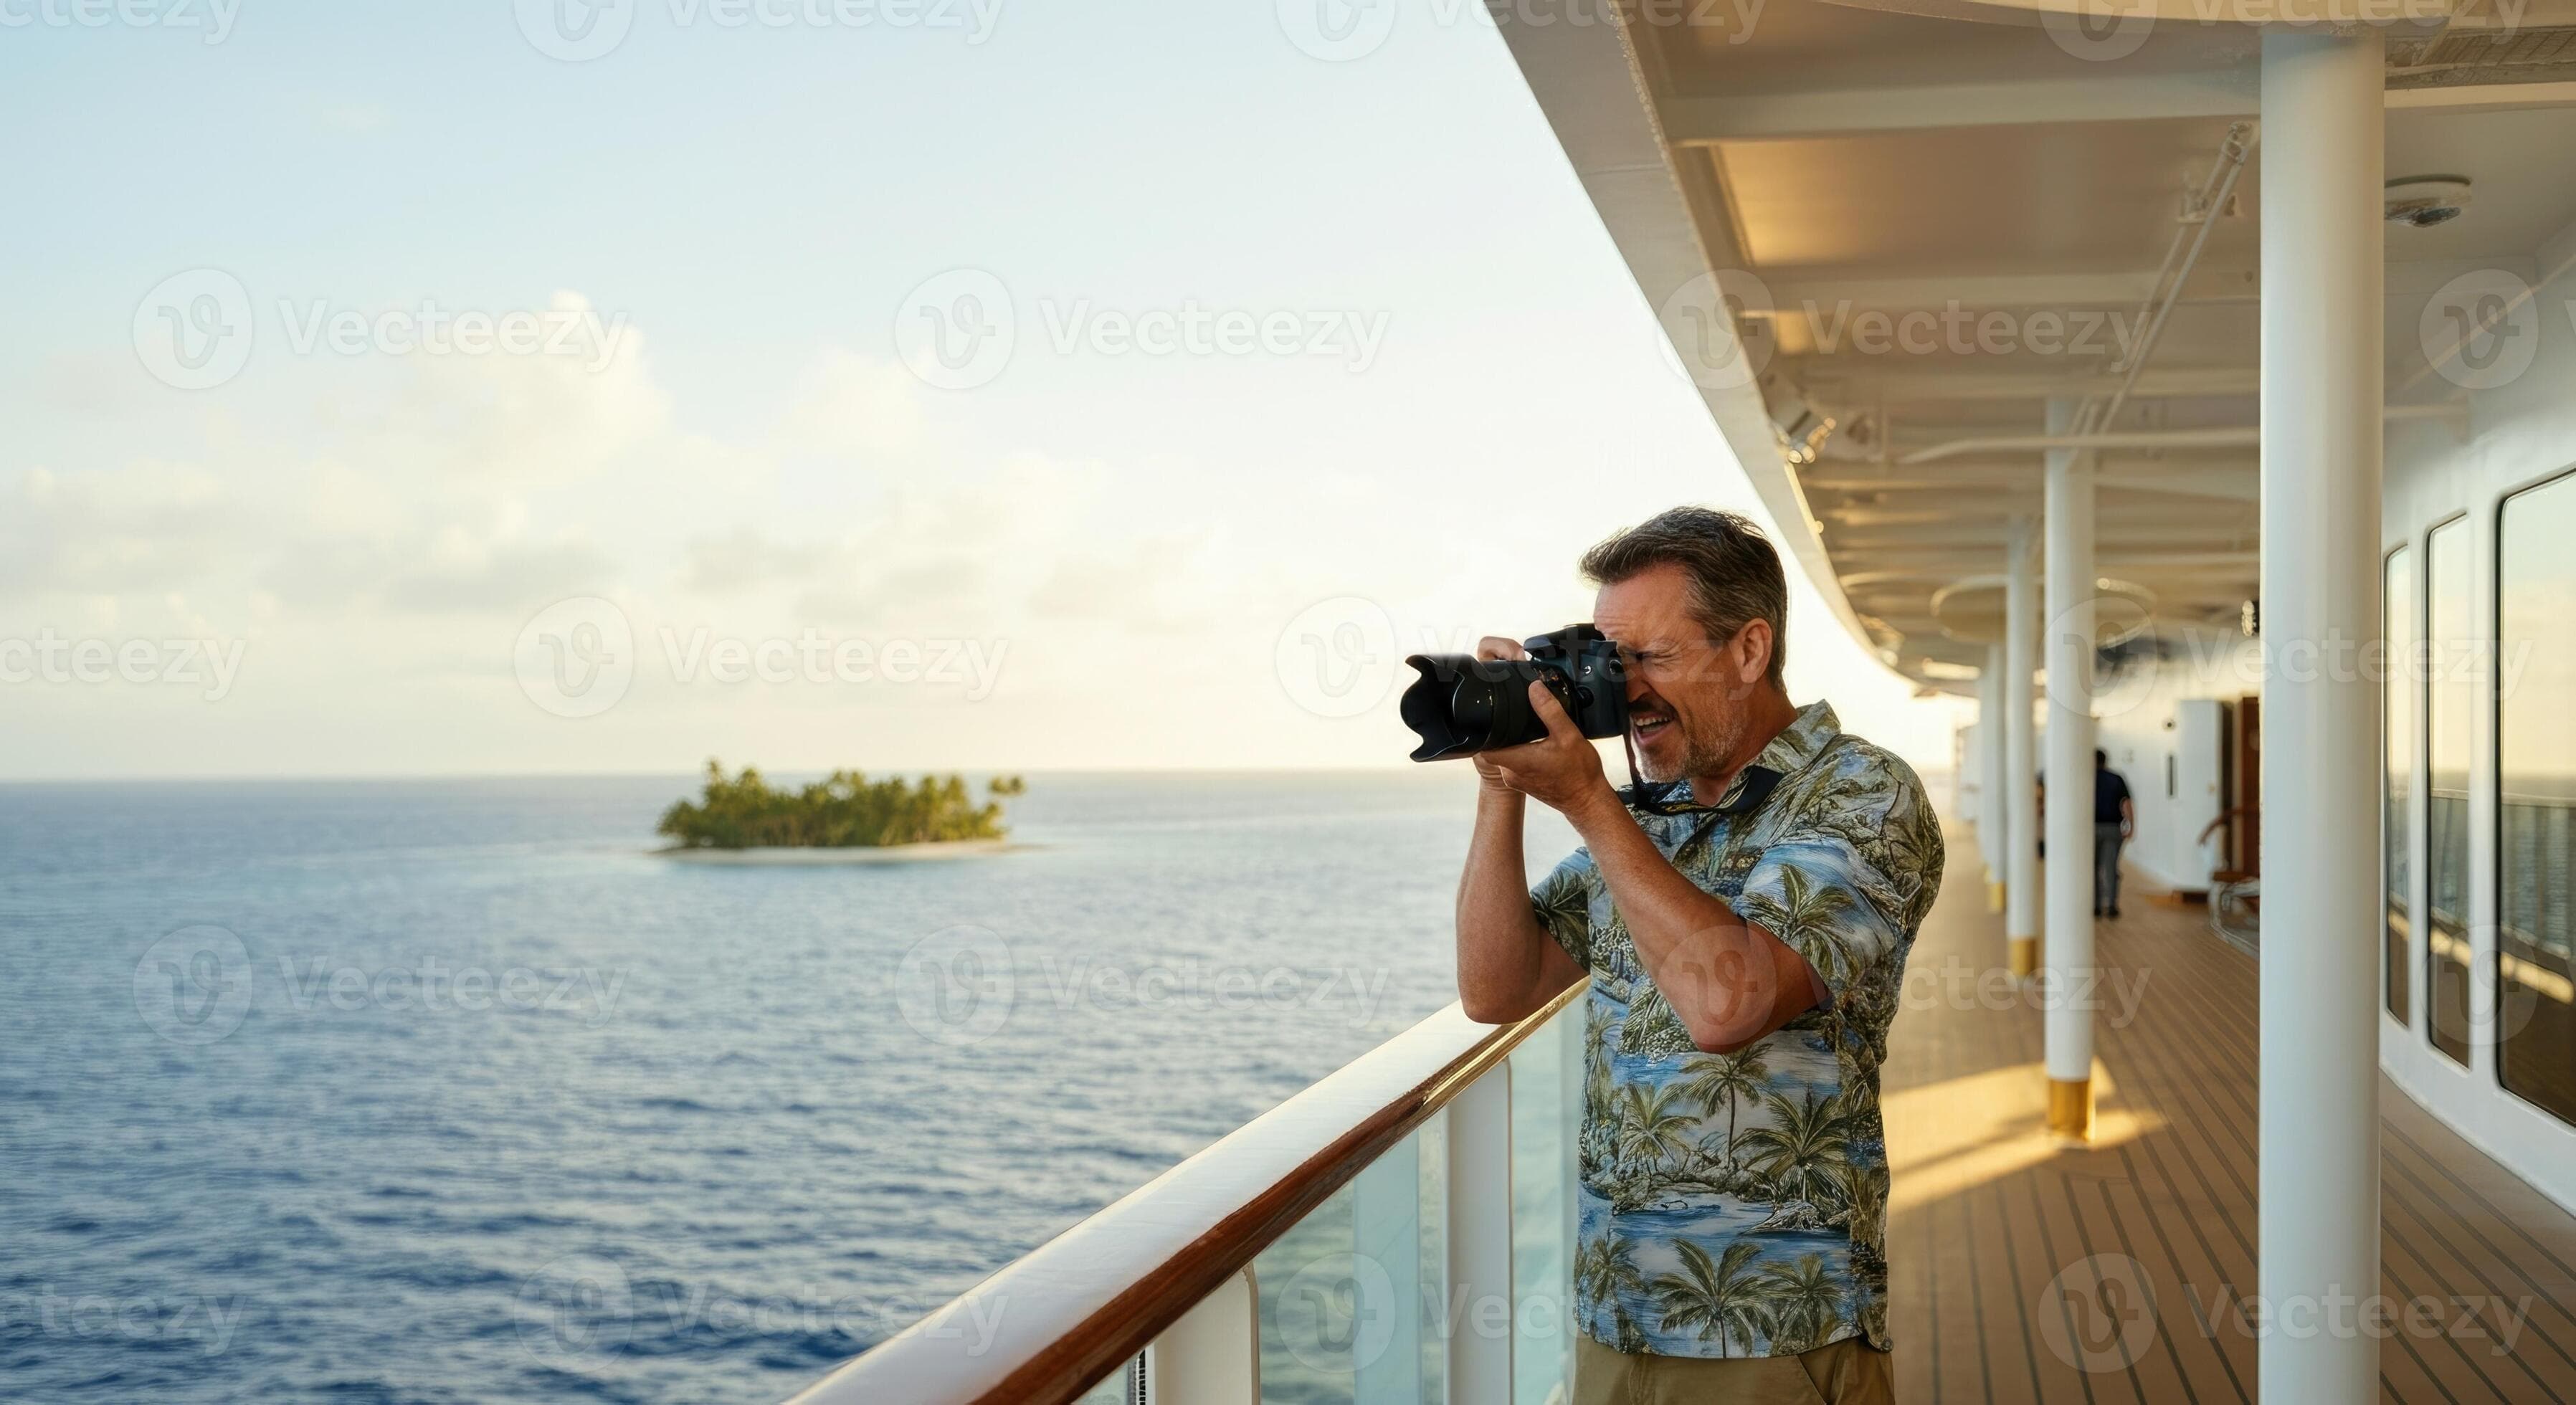
Photography is light. Everything else, composition, equipment, editing, is secondary. On a cruise, you have two kinds of light that produce dramatically different results.
Golden Hour: Your Best Friend
The 60 minutes after sunrise and 60 minutes before sunset produce warm, directional light that makes everything look better. Skin tones glow. The ocean turns golden. The ship's hull picks up warm reflections. Shadows add depth without harshness.
Sunrise on a cruise ship is a nearly private experience. Most passengers sleep in. You'll have the top deck to yourself, the ocean will be calm, and the light will be spectacular. Set an alarm. Bring coffee. Shoot facing east (or wherever the sun is rising. The ship's course changes this daily).
Sunset is more social and equally photogenic. Position yourself on the side of the ship facing the setting sun. Check the ship's heading on the in-cabin TV map channel or the cruise line app to know which side. The best sunset photos include a foreground element: the ship's railing, a deck chair, a silhouetted couple, the ship's wake.
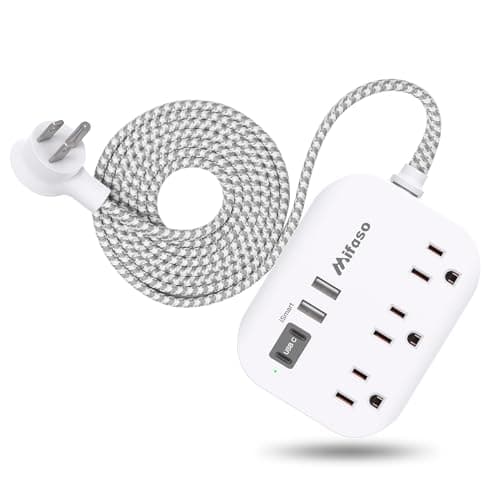
Mifaso Cruise-Approved Power Strip
- Cruise-approved (no surge protector) with multiple USB ports
- Compact design fits perfectly on the narrow cabin nightstand
Cruise cabins have limited outlets — this solves the charging problem without tripping ship safety rules
View on AmazonMidday Light: Manage It
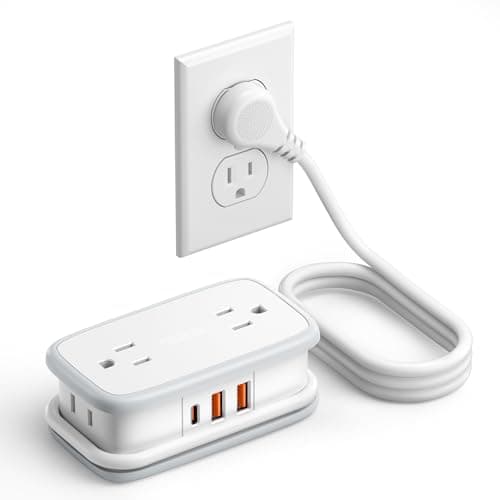
NTONPOWER 20W Travel Power Strip USB-C
- 20W USB-C Power Delivery for fast-charging iPhones and iPads
- Ultra-compact travel design fits in any bag
20W PD output charges an iPhone to 50% in about 30 minutes between excursions
View on Amazon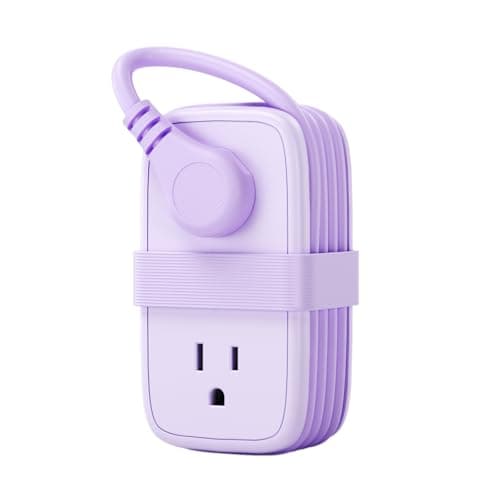
NTONPOWER Travel Power Strip (4FT Cord)
- 4-foot extension cord reaches from any cabin outlet to your nightstand or desk
- Multiple outlets plus USB ports
The 4-foot cord is a game-changer when the only outlet is behind the vanity mirror
View on Amazon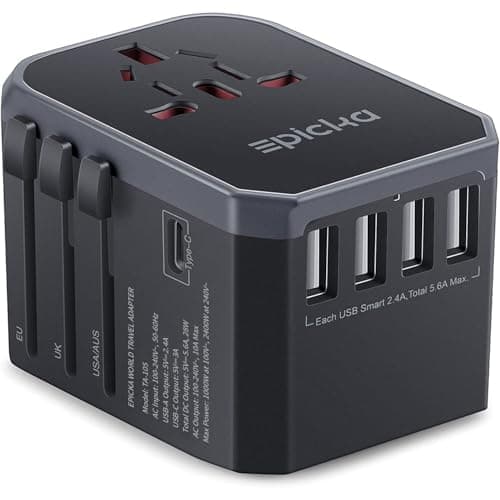
EPICKA Universal Travel Adapter
- Works in 150+ countries with US/EU/UK/AU plug types
- Built-in USB-A and USB-C ports
Mediterranean and Asian itineraries need different plugs at every port — this one adapter covers them all
View on AmazonBetween 10 AM and 3 PM in tropical and Mediterranean latitudes, the sun is directly overhead. This creates harsh shadows under eyes and noses, blown-out highlights on white surfaces, and flat, unflattering images of everything.
How to handle midday light:
Move to shaded areas. The ship's overhangs, covered pool areas, and interior atriums provide soft, even light
Face your subject away from direct sun, using open shade
Use your phone's HDR mode (usually automatic) to balance bright skies and darker subjects
If shooting landscapes, accept that midday is for scouting locations, not for final photos
Overcast Days
Cloud cover is actually excellent for photography. Clouds act as a giant softbox, diffusing light evenly and eliminating harsh shadows. Overcast days in Alaska, Northern Europe, and the Pacific Northwest produce moody, dramatic seascapes that look far more interesting than a flat blue sky over flat blue water.
Best Photography Spots on the Ship
Every ship has the same basic photography opportunities. Knowing where to go saves you from walking the wrong deck for 20 minutes.
Upper Open Decks (Deck 14-18)
The highest open decks offer unobstructed 360-degree ocean views. This is where you shoot:
Sunrise and sunset panoramas
The ship's wake (shoot from the stern, looking back)
Sea days. The endless horizon, cloud formations, and weather fronts approaching
Star photography on clear nights at sea (more on this below)
The Bow
The forward-most accessible point of the ship is where you get the classic "ship cutting through the ocean" shot. Not every ship gives public access to the bow. Royal Caribbean's Oasis and Icon-class ships have bow-accessible areas, while many other ships restrict forward deck access to suite guests or specific times.
When accessible, the bow offers dramatic angles: the ship stretching behind you, the ocean ahead, and spray from the hull below.
The Atrium / Central Core
Most ships have a multi-deck atrium with dramatic architecture. Glass elevators, sweeping staircases, chandeliers, and art installations. This is your interior photography spot. Shoot from above, looking down through the decks, or from below, looking up. The symmetry and leading lines of atriums make strong compositions.
Timing: Photograph atriums in the late morning or early afternoon, when foot traffic is low (everyone is at the pool or in port). Evening atriums are beautiful but crowded.
The Pool Deck at Night
After the pool closes and passengers move to dinner and shows, the pool deck transforms. The water reflects the ship's lights, the deck is empty, and the sky opens up. This is an underrated spot for atmospheric night photos.
Port Arrival from Your Balcony
If you have a balcony cabin, set an alarm for early port arrival. Watching your ship glide into a harbor at dawn, with the port city materializing out of the morning haze, is one of the most photogenic moments of any cruise. Dubrovnik, Santorini, Venice (if still permitted), Juneau, and Sydney all produce extraordinary arrival shots.
Phone Photography Tips
Your phone is your primary camera on a cruise. Modern smartphones take excellent photos. But they need help in a few specific areas.
Clean Your Lens
This is embarrassingly simple and makes an immediate difference. Your phone lives in your pocket with sunscreen-covered fingers touching the lens all day. A smudged lens produces hazy, low-contrast photos. Wipe it with a soft cloth before every shooting session.
Use the Grid
Turn on the camera grid overlay (Settings > Camera > Grid on iPhone, or Settings > Camera > Grid Lines on Android). This gives you a 3x3 grid that implements the rule of thirds: place your subject at the intersection points rather than dead center. It's the single fastest composition improvement you can make.
Tap to Focus and Expose
Don't let your phone decide what to focus on. Tap the screen on your subject. A person's face, a distant landmark, a ship detail. On iPhone, you can also slide your finger up or down after tapping to adjust exposure (brightness). This is critical for backlit subjects (people against a sunset) and bright scenes (white ship against blue sky).
Shoot in Portrait Mode for People
Portrait mode creates a shallow depth of field that blurs the background and focuses attention on your subject. Use it for:
Couple and family photos on deck
Photos of friends at dinner
Individual portraits with the ocean or port behind them
Don't use portrait mode for group shots of more than three people or when your subjects are at different distances from the camera. The blur algorithm struggles with these.
Panorama Mode at Sea
The ocean demands wide shots. Use panorama mode on sea days to capture the full sweep of the horizon, the ship's length, or a port town from the water. Hold your phone vertically and sweep slowly and steadily. The key to sharp panoramas is consistent speed. Don't rush the sweep.
Dedicated Camera Tips
If you bring a dedicated camera, these techniques will get the most from it.
Lens Selection
24-70mm (or kit zoom): Your everyday lens. Covers landscapes, port scenes, ship interiors, and group photos.
70-200mm or 100-400mm telephoto: Essential for wildlife in Alaska and Antarctica. Whales, bears, eagles, and penguins are distant subjects that require serious reach.
Wide-angle (16-35mm): Excellent for ship interiors, atriums, and dramatic seascapes. Not essential if your kit zoom starts at 24mm.
Leave the prime lenses at home unless you're a serious photographer. Zoom flexibility matters more than maximum sharpness when you're juggling excursions, dining, and photography.
Shutter Speed on a Moving Ship
The ship moves. Even docked, there's gentle motion from the harbor current. For sharp images:
Handheld landscapes: minimum 1/250 second
Wildlife: minimum 1/500, preferably 1/1000
Night sky: tripod with 15-25 second exposures (the ship's motion will streak stars on anything longer)
Protect Your Gear
Salt air is corrosive. Sea spray reaches higher decks than you'd expect. If you're shooting from the open deck in any wind, wipe your camera and lens with a dry cloth afterward. Store your camera in a dry bag or sealed container in your cabin. The climate-controlled air removes the salt humidity.
If you're doing water excursions (snorkeling, kayaking, zodiac landings in Antarctica), bring a waterproof camera or a phone in a waterproof case rated for at least IP68 / 3 meters depth.
Port Photography Tips
Port days are your best content days. Here's how to make the most of them.
Arrive Early
The first tender or gangway opening puts you in port before the crowds. Streets are empty, markets are setting up, and the light is still golden from the morning sun. By 10 AM, every major port is flooded with 4,000 cruise passengers and the authentic atmosphere evaporates.
If your ship arrives at 7 AM and the gangway opens at 8 AM, be first off. The two hours between 8 and 10 AM produce better photos than the rest of the day combined.
Walk Past the Tourist Zone
Every cruise port has a tourist zone near the terminal. The same shops, the same taxi drivers, the same photo opportunities. Walk 10-15 minutes past this zone and you'll find the real town: residential streets, local markets, neighborhood restaurants, and daily life. This is where the interesting photos live.
Photograph the Ship from Shore
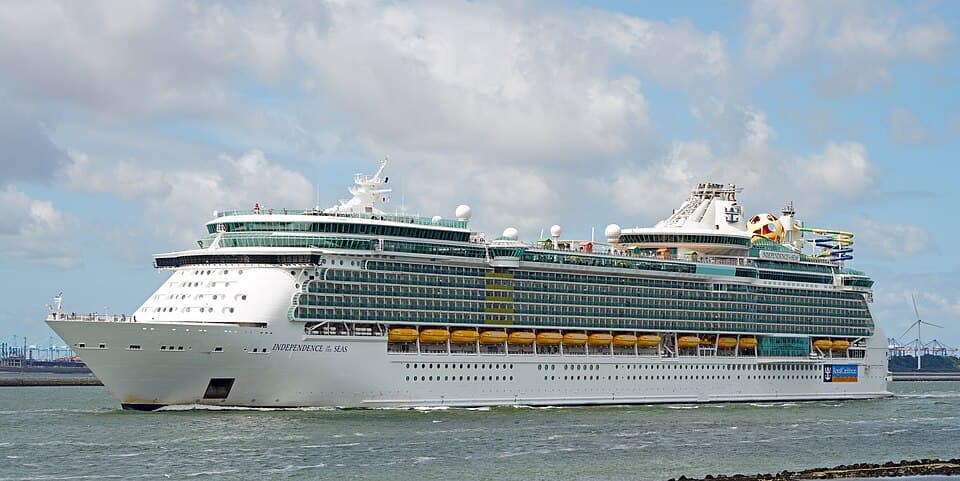
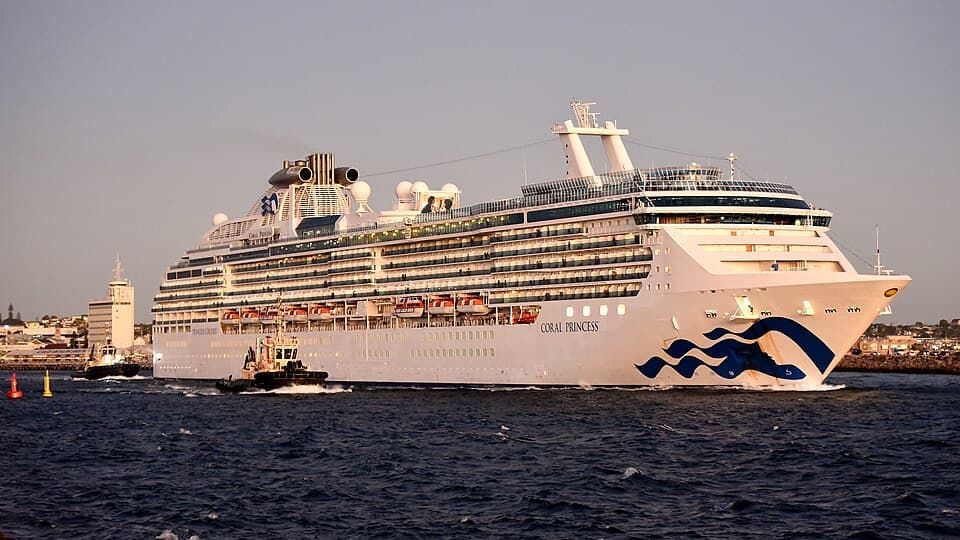
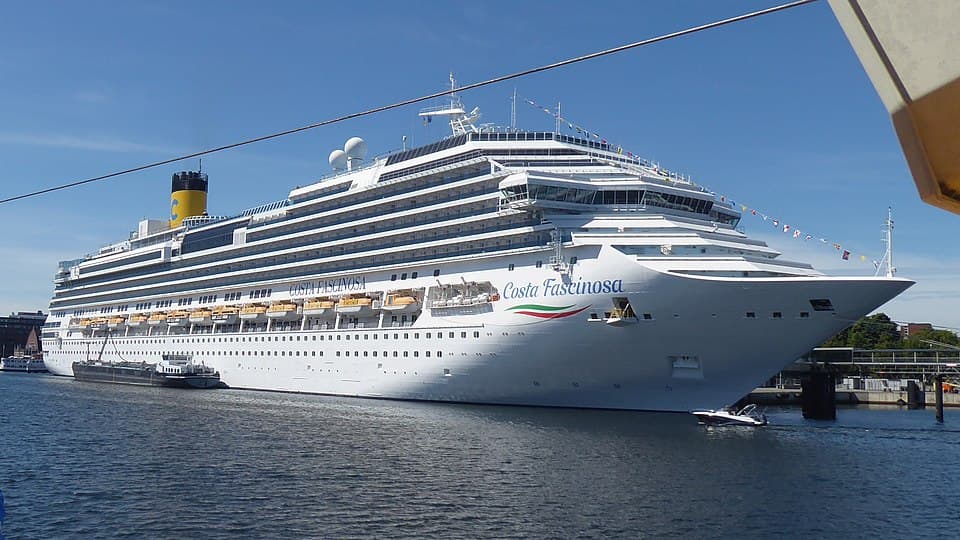
One of the most rewarding cruise photography exercises is photographing your own ship from the port. Walk to an elevated vantage point, a hill, a fortress, a waterfront restaurant's upper floor, and shoot the ship in context with the port.
The best ship-from-shore shots use the port as foreground: colorful buildings, fishing boats, market stalls, with the massive cruise ship rising in the background. This contrast between the intimate port and the enormous ship tells the story of the day.
Wildlife Photography on Cruises
Alaska, Antarctica, the Galapagos, and Norwegian fjord cruises put you face-to-face with wildlife you can't see anywhere else. This is the one scenario where a phone camera isn't enough.
Alaska
What you'll photograph: Humpback whales (breaching, tail flukes), bald eagles, brown bears (from zodiac or shore excursions in Katmai or Anan Creek), glaciers calving, sea otters, and orcas.
Recommended focal length: 200-400mm. Whales surface unpredictably and you need the reach to capture a breach from a moving ship. A 100-400mm zoom gives you flexibility without changing lenses in salt spray.
Pro tip: When whale watching, keep your camera at eye level with your finger on the shutter. Breaches happen in 2-3 seconds. By the time you lift your camera from your lap, the moment is over. Shoot in burst mode (continuous shooting) and sort through frames later.
Antarctica
What you'll photograph: Penguin colonies (thousands of individuals), seals on ice floes, icebergs in shapes you won't believe, and the raw landscape.
Key challenge: Everything is white. Ice, snow, and overcast skies fool your camera's meter into underexposing. Add +1 to +1.5 stops of exposure compensation so the whites are actually white and not dingy gray.
Night Photography at Sea
Clear nights at sea, far from any city light pollution, offer some of the darkest skies you'll ever experience. The Milky Way is visible on moonless nights in the middle of the ocean.
Phone: Most modern flagship phones (iPhone 15 Pro and later, Samsung Galaxy S24 Ultra) have dedicated night modes that can capture stars with handheld shots of 3-10 seconds. Rest your phone on a railing for stability.
Camera: Use a tripod (if the ship allows them on the open deck — most do), set your aperture wide open (f/2.8 or wider), ISO 3200-6400, and exposure 15-25 seconds. The ship's motion limits your exposure length — anything beyond 25 seconds will show star trails from the ship's movement, not the Earth's rotation.
Best location: The darkest part of the ship, away from the pool deck lights and bar areas. The aft upper deck, facing away from the ship's superstructure, usually has the darkest sky view.
Editing Your Cruise Photos
The best editing is invisible. A few quick adjustments make a significant difference without making your photos look processed.
The three adjustments that matter most:
Straighten the horizon. A tilted ocean looks wrong. Rotate until the waterline is perfectly level.
Add contrast. Ship interiors and overcast days produce flat images. A slight contrast boost (+10-20 in any editing app) adds depth.
Warm the white balance slightly. Cruise photos often skew blue from the ocean and sky. Adding warmth (+5-10 on the temperature slider) restores the golden tones your eyes saw in person.
Apps worth having: Snapseed (free, powerful), Lightroom Mobile (free with optional subscription), and the built-in editors on iPhone and Android. Any of these handles the three adjustments above in under 30 seconds per photo.
The Photo You Should Always Take
Before you leave the ship on the first morning, photograph your muster station card, your daily schedule, and the ship's deck plan. These are reference photos, not artistic ones — but they'll save you from being lost, late, or confused for the rest of the cruise.
And one more: photograph your ship's name and hull from the dock when you disembark for the first time. Years from now, that photo will trigger every memory from the trip better than any sunset panorama.
Track your ship's position in real time using our live ship tracker — knowing where you are on the ocean adds context to every photo you take.